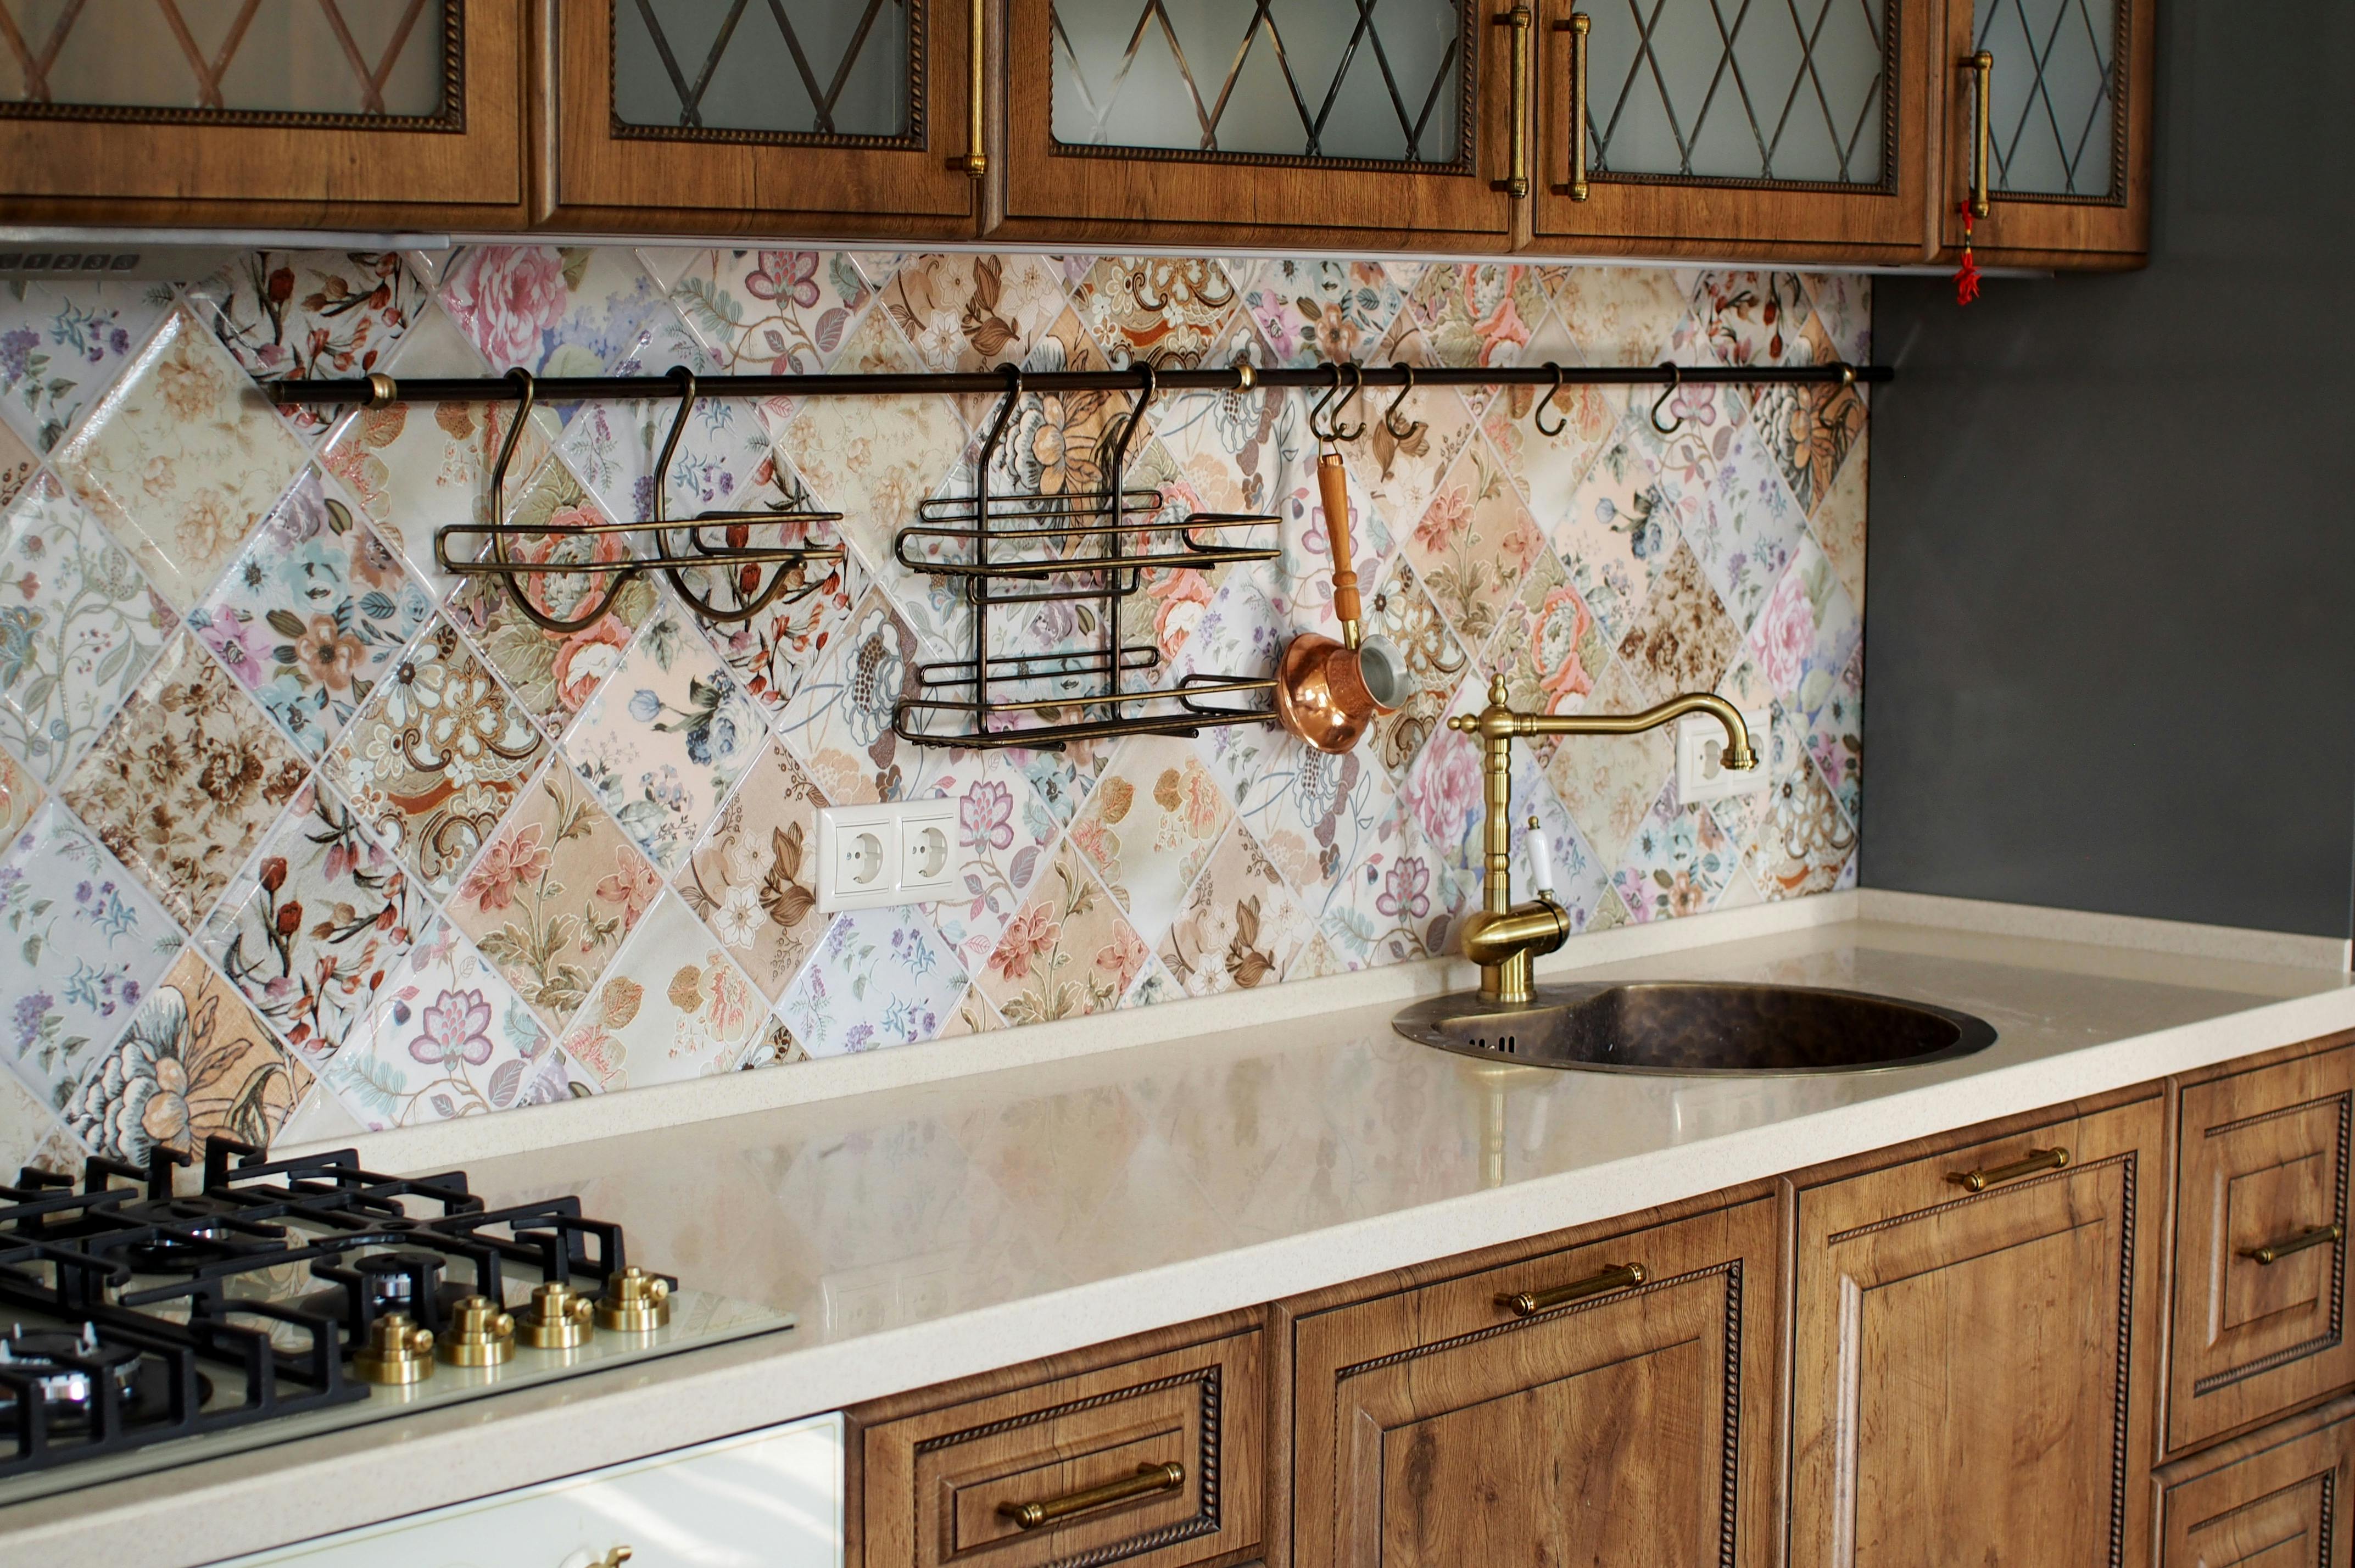
Fitting a kitchen worktop to a professional standard requires precision, the right tools, and a systematic approach. Whether it's a laminate, solid wood, or composite surface, the process demands accurate measuring and clean cutting to ensure a flawless finish that will last.
In this blog, we will break down the step-by-step method used by experienced kitchen fitters, including best practices and the importance of particular techniques. If you're looking to have your kitchen worktop fitted, this is where to start.
Tools Needed For A Professional Finish
Fitting a kitchen worktop properly isn’t just about having a steady hand—it’s about using the right tools for the job. Industry-standard equipment like a router with a worktop jig allows us to cut precise mason’s mitre joints, which are far stronger and neater than basic butt joins. Plunge saws and jigsaws fitted with the correct blades help us achieve clean, chip-free cuts, especially on delicate laminate finishes.
Accurate scribing tools, levels, and clamps ensure the worktop sits against uneven walls and joins seamlessly. Using efficient industry standard tools not only guarantees a high-quality finish, but it also helps avoid common issues like poorly aligned joints, gaps, or water damage. It’s this attention to detail—and the right equipment—that sets a professional installation apart from DIY attempts.
Professional kitchen worktop fitting in the UK typically requires:
Key Tools:
Router + worktop jig – for accurate mitre joints
Plunge or circular saw – for clean, straight cuts
Jigsaw – for sink and hob cut-outs
Clamps & levels – to hold and align worktops
Cordless drill & scribing tools – for precise fitting
Materials:
-
Connector bolts (dog bones)
-
Colour-matched jointing compound
-
Silicone sealant
-
Edging strips or end caps

Techniques For Fitting A Kitchen Worktop
Fitting a kitchen worktop properly requires precision, planning, and the right techniques to ensure a seamless, long-lasting finish. Here’s how professionals typically approach the process:
-
Scribing for a Perfect Fit Very few kitchen walls are truly straight. That’s why we use a scribing technique to carefully mark and trim the back edge of the worktop so it sits perfectly flush against uneven walls. This helps avoid gaps and gives a clean, tailored look.
-
Mason’s Mitre Joints Where two worktops meet at a corner, a mason’s mitre (also known as a butt and scribe joint) is the industry standard. Using a router and worktop jig, we cut these joints to interlock precisely, creating a strong, neat corner with minimal visible seam when sealed correctly.
-
Routered Bolt Recesses To join worktop sections securely, we router bolt recesses underneath and use heavy-duty dog-bone connector bolts. These pull the worktops tightly together, preventing movement and ensuring a flush joint.
-
Accurate Cut-Outs for Sinks and Hobs Using a jigsaw with fine-tooth blades, we cut out apertures for sinks and hobs to the exact size required. We then seal the exposed edges with waterproof sealant to prevent moisture ingress, especially around sink areas.
-
Sealing and Finishing Finally, we apply colour-matched jointing compound for laminate tops or appropriate sealants for wood and composite worktops. This not only protects the joints from water damage but also enhances the overall appearance. Edging strips or end caps are added where needed to protect exposed ends and complete the look.
These techniques require experience, precision, and specialist tools. If you'd rather avoid costly mistakes or rework, hiring a professional fitter ensures your kitchen looks flawless and lasts for years to come.
Common Mistakes When Fitting A Kitchen Worktop
Installing your own kitchen worktop may seem like a money-saver, but it’s easy to get wrong – and mistakes cost more to fix than hiring a pro in the first place.
Common DIY Mistakes:
Misaligned joints – leaves gaps, invites moisture, ruining the finish.
Poor sealing – leads to swelling, rot, and stains.
Uneven surfaces – cause cracks, pooling water, and long-term damage.
Bad measurements – even a few mm off can ruin a whole worktop.
Weak support – heavy tops can sag or collapse without proper fixings.
No expansion gap – causes warping or cracking over time.

Why Hire a Professional To Fit Your Workshop?
Professionals have the skills, tools, and experience to install your worktop perfectly, the first time. They measure precisely, seal properly, and make sure everything is level and secure. The result? A beautiful, durable finish that lasts.
Save Time. Avoid Stress.
Skip the trial and error. Our expert team in Birmingham delivers fast, flawless worktop installations backed by guarantees.
Get Expert Installations Today - Professional Finish
Our kitchen fitting team – based in Birmingham and servicing the entire Birmingham area – has the training and experience to achieve a perfect result without the headaches. We encourage you to contact us today and our helpful team can guide you through the process of beginning your kitchen fittings with us.
Posted in Kitchens on Mar 26, 2025
The Professional Finish Difference
Expert craftsmen producing stunning resultsProfessional Finish was established in 2010 and is based in Northampton. We design, supply and install furniture for bedroom, bathroom and kitchens in Northampton. We focus on the fit and finish of all the furniture that we install. We pride ourselves on our attention to detail in fulfilling our projects and our approach to customer service. The high standards we have set in professional installation of all the furniture has allowed us to stand out from our competition.
Learn about Professional Finish

