Tiles have been in fashion for years along walls all around homes. With tiles often placed within kitchens, it is essential to get such a perfect staple room.
In this article, we will cover how to tile a kitchen wall, the trends for 2025, and how a professional design company can do all this for you and much more for your kitchen renovations - tiles are just the start, furniture and in-depth designs are the best bits!
What Materials Do You Need?
When committing to a task like tile fitting, selecting the right tools is vital to long-lasting results and a beautiful-looking kitchen. Here are the necessities for the job:
- Your chosen wall tiles
- Filler - to fill gaps between tiles and allow smooth transitions between surfaces
- Tile Adhesive - ensures strong bonding and secures tiles
- Tile Spacers - ensures consistent alignment within the layout
- Sanitary Sealant - reduces mold build-up (kitchen condensation could be at risk without the sealant)
- Grout - enhances appearance and protects tiles from dirt
- Multi-purpose cloths - can be a messy task, but can equally help to polish off the placed tiles
- Tile Trim - gives a professional look and protects corners/edges
Those listed are the main materials needed to complete the job, alongside the necessary skills and knowledge for precision. Of course, use what is accessible to you and needed in the moment; being prepared for fitting jobs makes all the difference!
And Tools?
Tools are equally just as important, but with fitting of any sort, there are hundreds of different resources available, but use what is available in your household and what will be completed in a timely and well-done manner. Here are just a few tools we would recommend having in hand for certain steps:
- Tape Measure
- Grout Float
- Spirit Level
- Tile Cutter
- Bucket
- Sponge
- Trowel
- Safety Gloves
- Glasses & Mask - if using electric tools
Those are just a few to name, but make sure safety is kept in mind just as much a the job at hand.
How To Fit The Tiles?
Planning and prepping are important for fitting tiles onto your wall. Following on from planning and measuring, you can begin fitting your kitchen tiles.
Adhesive
Firstly, you would need to start with the adhesive. Follow the instructions on the adhesive you are using, you typically would begin mixing it. Next, you would want to spread the adhesive along the wall (a trowel can be used to create grooves for great grip). Do this on a small section of your wall to prevent the adhesive from drying up before even applying the tiles. If your tiles are larger than 20 x 20, apply adhesive to the wall, as well as on the back of your tiles.
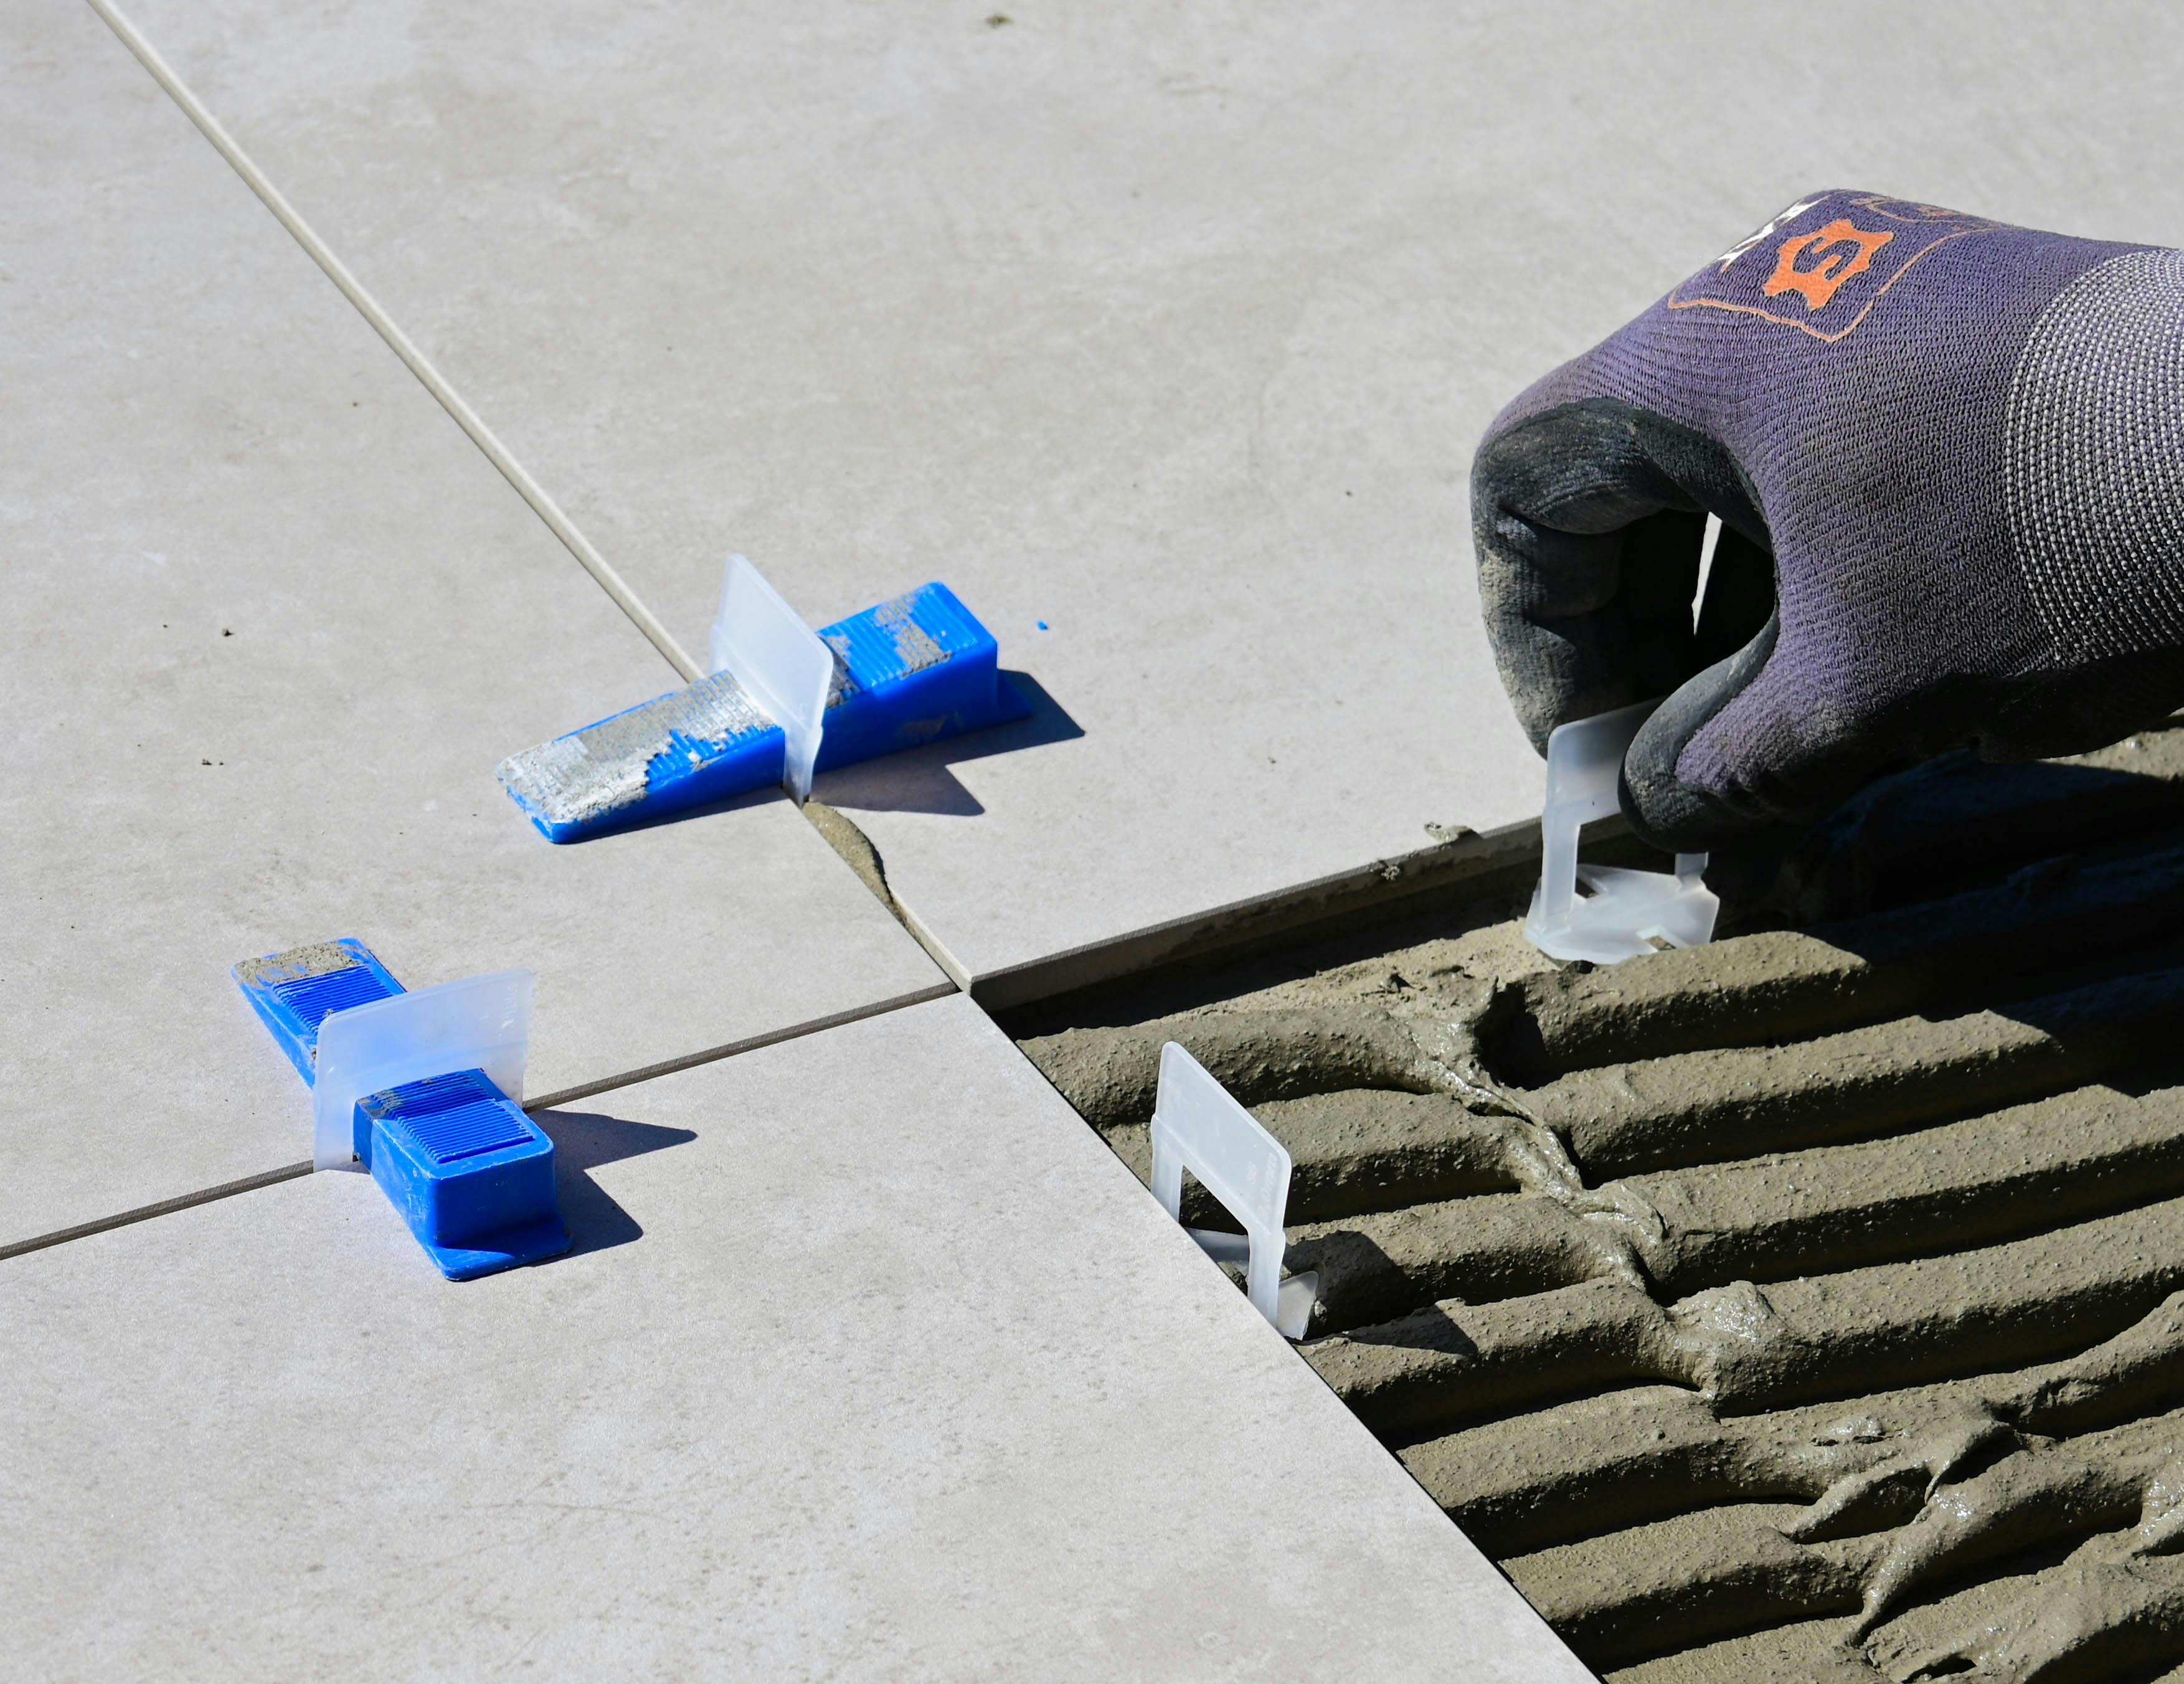
Tile Application
For your tile application, start by beginning in the corner, firmly pressing the tile into the adhesive - you can gently twist the tiles to ensure they are secure. Tile spacers are great to use at this stage for peace of mind that there are even gaps. Continue this process of pressing and adding tile spacers into the corners until your whole section of adhesive is filled with your desired tiles.
As a hint, your spirit level would come in handy to adjust any tiles, especially when the adhesive is not yet dry
Continuing With Tiles - Grout
Once you have applied all the tiles onto that current area, you could use your tile cutter if necessary to cut tiles to fit properly. If this is not needed, you must leave your tiles to set for at least 24 hours (check adhesive instructions). Your next step would be grout. Here are some simple steps for grouting:
- Remove spacers once adhesive is dry.
- Mix and apply grout using a rubber float, working it into the gaps at a 45° angle.
- Remove excess grout with a damp sponge before it hardens. Do not allow your sponge to be too wet as this can cause discolouration.
- Allow the grout to fully dry. As it sets, a thin, chalky residue may develop on the surface of the tiles due to the sponging process. Gently buff this off using a clean, soft cloth for a polished finish.
Seal:
Sealing your wall is one of the final stages of fitting tiles to your kitchen wall. Keeping a steady hand, use sanitary sealant around edges, corners, or where tiles meet other surfaces (e.g., sinks).
You can smooth it with a wet finger or tool. Finish your job by wiping off any product and residue on tiles, and then you should have a perfect finish!
What Are Trending Kitchen Tiles in 2025?
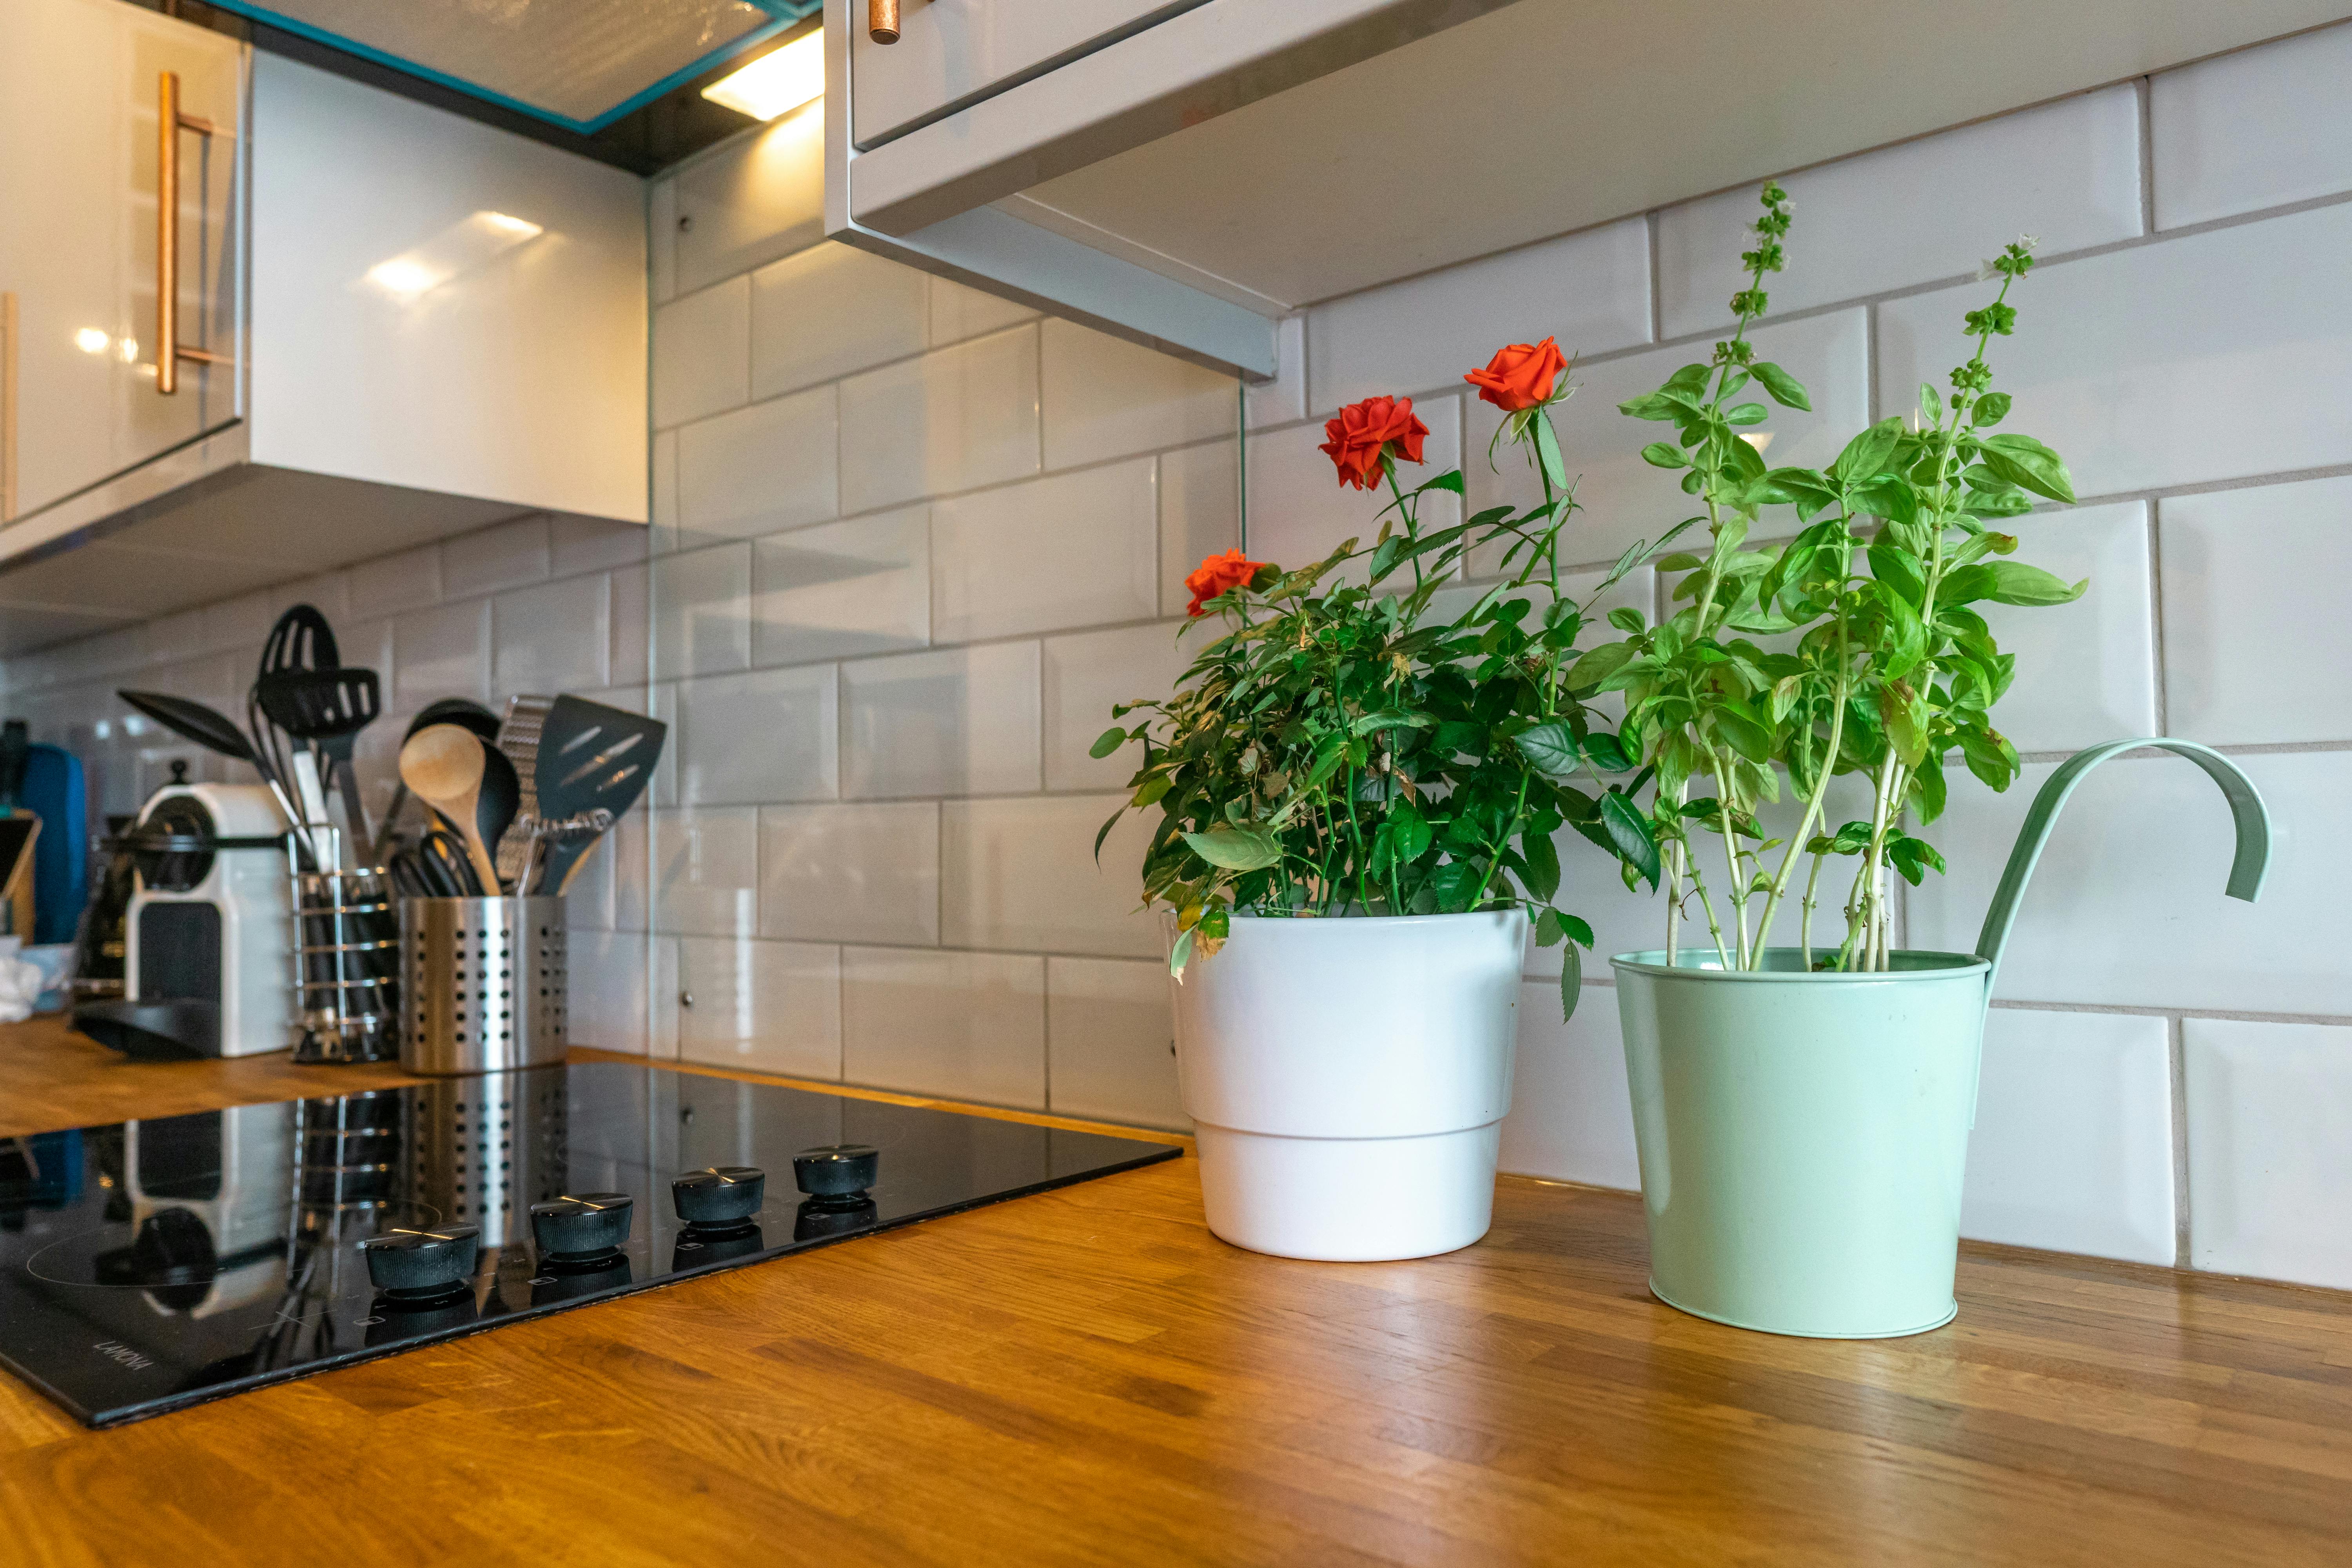
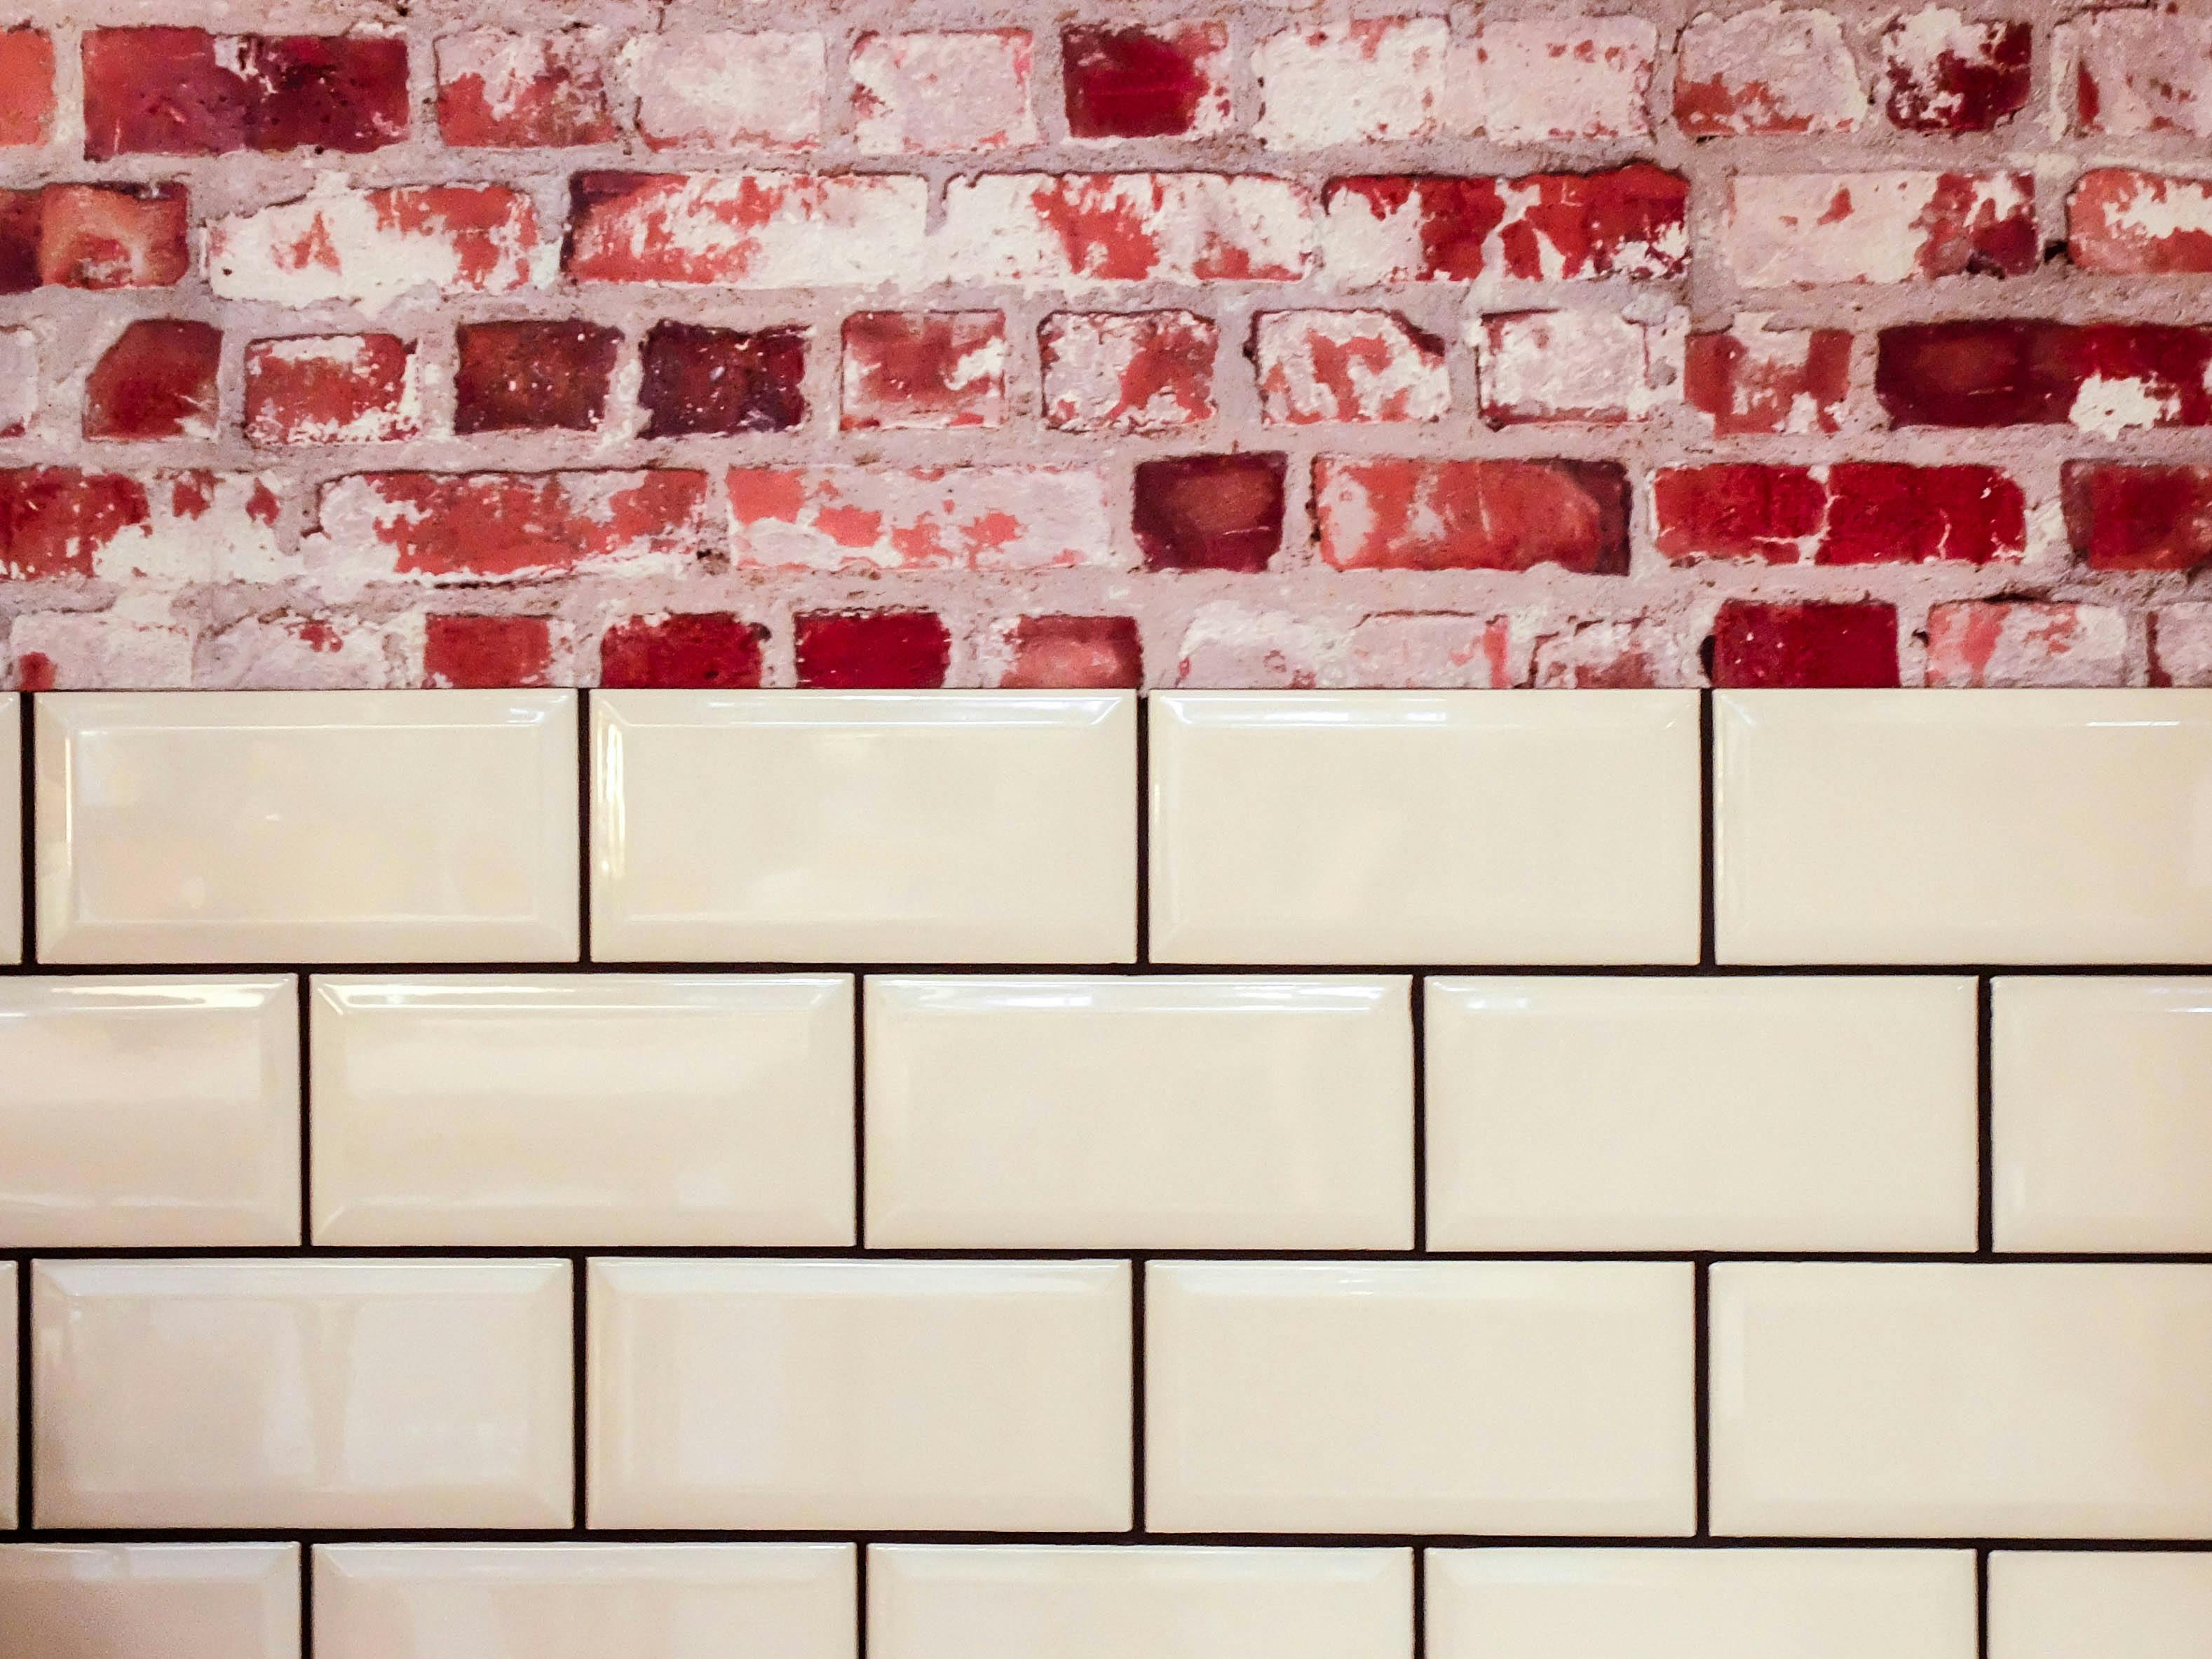
Home trends change all of the time, and kitchen tiles have been one of those. Rather than bold and bright, modern features in homes tend to be natural and simple. Currently, natural and earthy tones, vintage and tile drenching ( a single tile covering multiple spaces) are all current trends continuing in April 2025. So, get looking at greens, beiges, and simplistic patterns to fill your kitchens.
What Tiles Go With Certain Furniture Styles?
White/neutral tiles may go best with natural wood, especially in modern kitchens. Patterned tiles can create a very homely style, in which woven and rattan textures could add extra warmth.
Shaker Kitchens are quickly growing in popularity; these types of kitchens would suit a natural stone tile and can be designed around different colours and tones.

Why Professionals Are The Best For Kitchen Work
There is no doubt that many people can produce some great DIY, but that is typically down to skill and experience. Professionals can do exactly that with decades of experience to show. An expert team can put together the perfect kitchen for you from tiles, drawers, worktops and much more.
Certain skills, even in just tile placement, involve some unique tools and techniques, such as tile cutting, which requires precision and know-how. It is common for those wanting home renovations to be focusing on a lot at once, and with a helping hand, it can really go far and do wonders for time saving.
Even smaller tasks can come with risks, so having a professional design company do the work for you is the best decision. We will stick to code and safety compliance, keeping everybody out of invisible harm and ensuring your kitchen has no disruption and just 100% care.
Tiles are just one part of a revamp, and the need for new furniture and design layout is vital for any kitchen. Get started on this process next!
Trusted Kitchen Fitters - Professional Finish
At Professional Finish, we specialise in designing, installing, and supplying furniture for kitchens, bathrooms and bedroom sin Northampton. If you are looking for help with any room, look no further than our helpful team. We have been established since 2010 and thrive on customer satisfaction. If you need help with a room upgrade or have goals such as maximising storage…contact us today!
Posted in Kitchens on Apr 15, 2025
The Professional Finish Difference
Expert craftsmen producing stunning resultsProfessional Finish was established in 2010 and is based in Northampton. We design, supply and install furniture for bedroom, bathroom and kitchens in Northampton. We focus on the fit and finish of all the furniture that we install. We pride ourselves on our attention to detail in fulfilling our projects and our approach to customer service. The high standards we have set in professional installation of all the furniture has allowed us to stand out from our competition.
Learn about Professional Finish